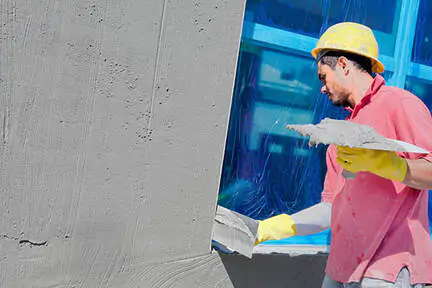
Are you tired of your outdated and weather beaten stucco? There is a way to freshen the appearance and have your home looking like new. Stucco repair is one of the best ways to give your home a brand new look. And though stucco can last for literally a hundred years, that doesn’t mean it can’t be affected by the outside elements.
The good news is you can do the repairs yourself if you have the patients. With that being said, here are the 9 steps you need to take to spruce up your stucco.
Step #1 – Get Rid of The Loose Stucco
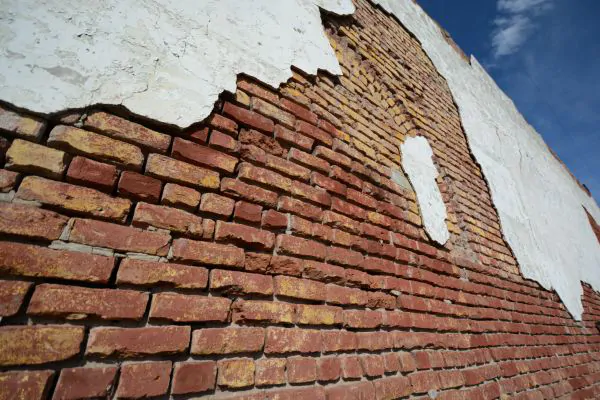
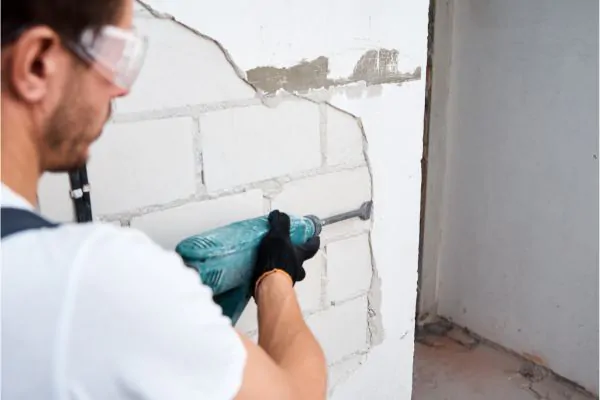
The first thing you need to do is go around your home and identify the areas you need to re-stucco. Then take a hammer and get rid of the loose stucco. Be careful as you don’t want to damage the material underneath.
Step #2 – Cover The Lath
Once you have removed the loose stucco, the lath will be exposed. Using grade-D builder’s paper, cover the exposed area. Make sure it fits tightly along the boundary.
Step #3 – Add Mesh
Mesh is just galvanized metal. It will need to be placed against the edge of the stucco. To make this job a little easier, it is a good idea to invest in a pair of snips. Use roofing nails to ensure the mesh is firmly in place.
Step #4 – Mix The Stucco
Now the real hard work begins. Use a wheelbarrow to start mixing up the first batch of stucco.
Step #5 – Apply The First Coat
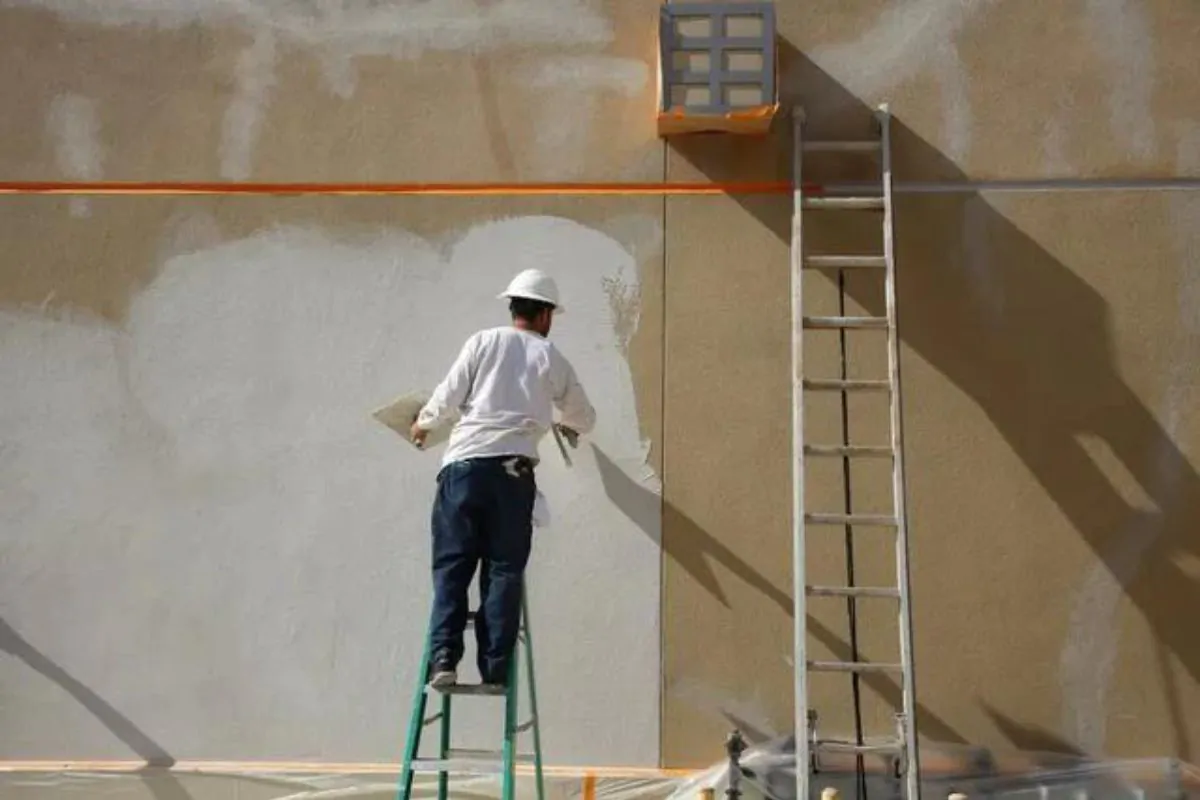
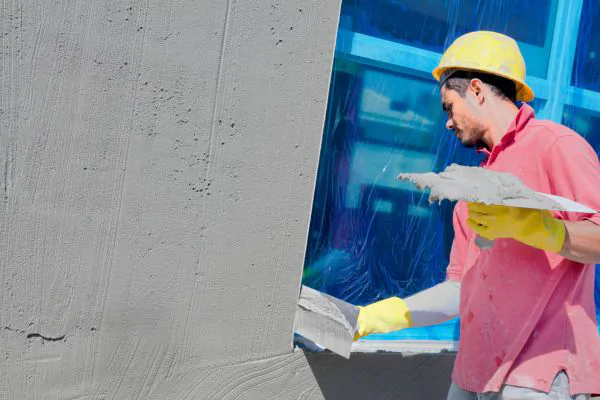
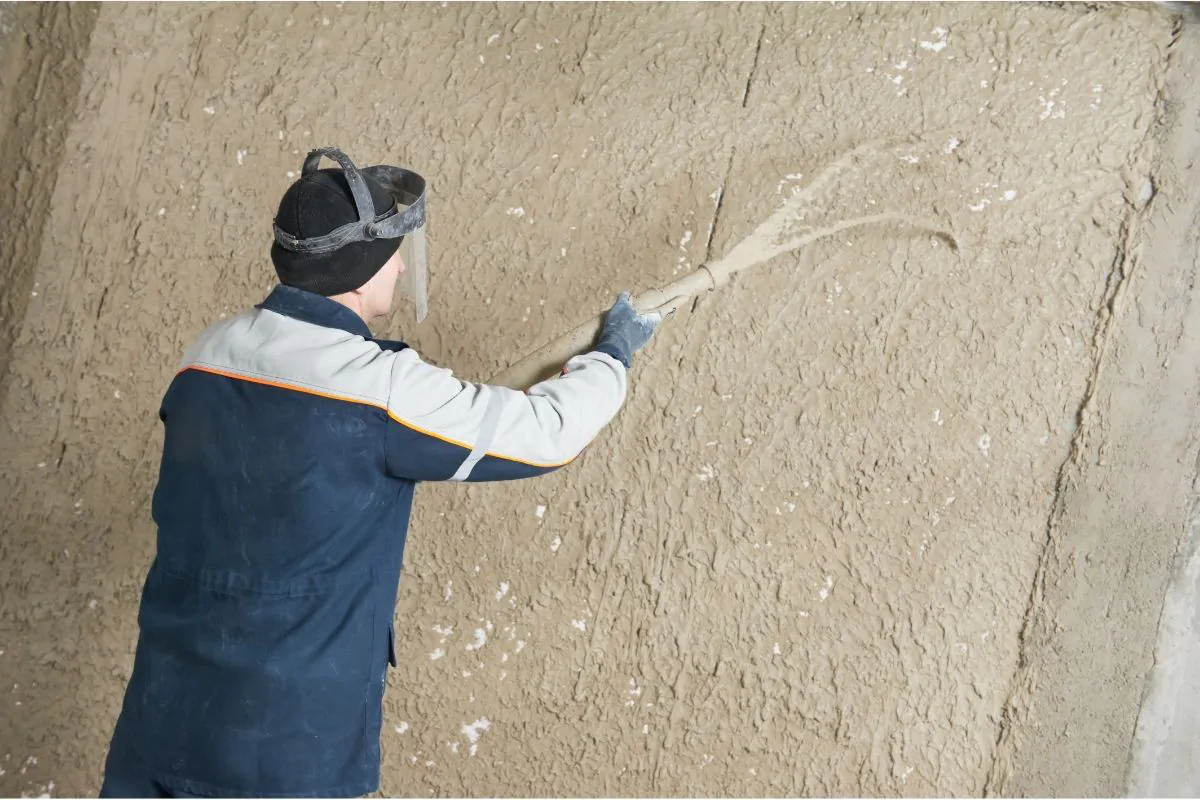
Before applying, be sure to wet the edge of the old stucco. Now take a fist-sized scoop and sling it up against the mesh. You want to make sure it is completely covered, and then smooth it out.
Step #6 – Score The Surface
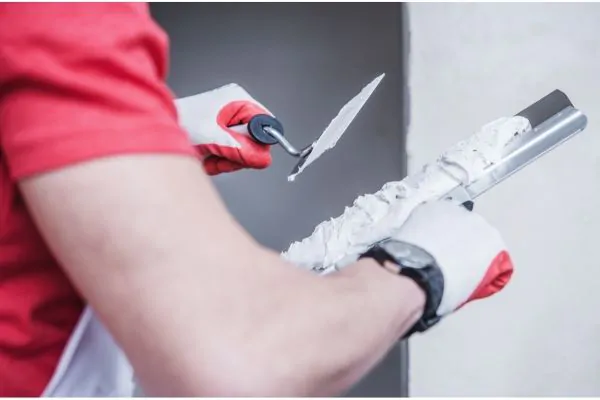
Score the surface of the first coat so that it is easier for the second coat to stick to it. This can be done using a brick trowel. Now place a plastic sheet over the area to keep it from drying out.
Step #7 – Apply The Second Coat
Before applying the second coat, you will need to wait about 7 days. After 7 days, remove the plastic and mist the area with water. Mix up the second batch of stucco. Be sure to follow the recipe you are given.
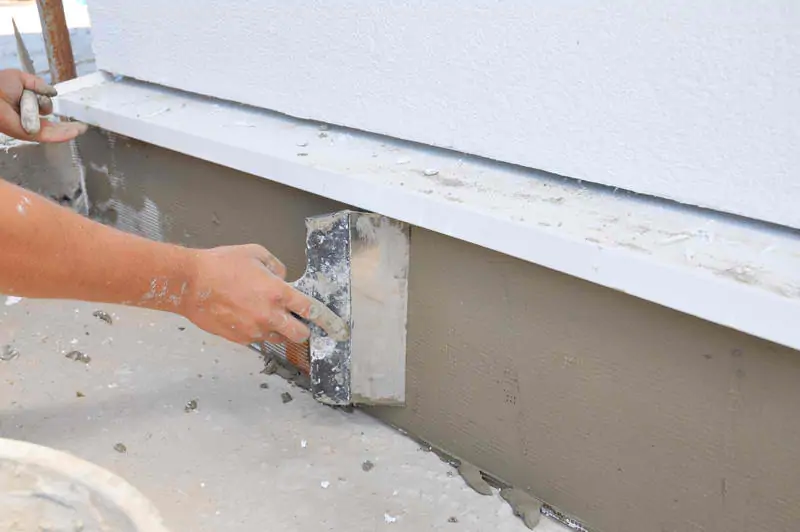
Starting from the bottom and working your way up, apply a second coat of stucco. This coat should be 3/8-inches thick. Pack down the edges and wait. Once the wet sheen disappears, use the trowel to smooth it out.
Get a plastic sheet and cover the area again.
Step #8 – Apply The Final Coat
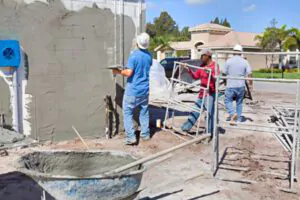
This time around, you will only need to wait three days. Start by removing the plastic and misting the area with water. Now mix up the final fresh batch of stucco. Again, be sure to follow the appropriate recipe.
This step requires that you understand stucco and the different techniques. The crucial part is to make sure you match the walls original finish. Start by applying small globs to the area. If you aren’t sure how to match the walls original finish, it may be best to hire a professional stucco repair company.
Step #9 – Let It Cure
Chances are you will need to paint the stucco for it to match the rest of the home. However, you will need to let it cure first. Wait about a week before you do any painting. The goal is to make sure the patch is invisible. This can be done using a coat of heavy-bodied acrylic elastomer.
Need help with stucco repair? Give us a call today for a free no-obligation quote.
